How to Build a Drop Zone That Keeps Keys, Mail, and Bags in Check
In this article
You walk in the door, hands full, and the mess starts right there. Keys land somewhere random. Mail gets dropped on the counter. Your bag slides off a chair onto the floor. Three days later you can’t find your keys and the mail pile has its own gravity. A good drop zone fixes this fast. It gives keys, mail, and bags one home by the door so the clutter stops before it spreads into the rest of your small apartment.
You don’t need a mudroom or a custom build. You need one spot, a few cheap pieces, and a habit that takes ten seconds. This guide walks you through it.
Key idea: A drop zone works because it catches the stuff you carry every day at the exact moment you walk in, before it can scatter.
Skim this
- Pick the spot within arm’s reach of your front door, not down a hallway.
- Give every daily item a home: a hook for keys, a tray for mail, a spot for your bag.
- Add a small “to deal with” basket so urgent papers don’t get lost in the pile.
- Empty the zone once a week so it stays a launchpad, not a junk shelf.
What a drop zone actually is
A drop zone is the small landing area by your front door where the things you carry every day get put down on purpose. Keys, mail, your bag, sunglasses, your transit card. Instead of those items spreading across the kitchen counter and the couch, they go to one place you set up.
The point is speed. You’re tired when you get home. You won’t walk an extra ten feet to put your keys away. So the zone has to be right where you stop. If it’s convenient, you’ll use it. If it’s not, you won’t, and the counter wins again. In a small apartment this matters even more, because every surface you leave open gets covered fast.
How to build your drop zone step by step
1) Pick the spot by the door
Why it works: You build the habit at the moment you walk in, so there’s no extra effort to remember. The zone catches things before they travel into your apartment.
How to do it: Stand at your front door and look at what’s within two steps. A bit of wall, the back of the door, a narrow shelf, the top of a low cabinet. That’s your zone. Aim for somewhere you naturally pause to take off your shoes or set things down.
Common mistake: Putting the zone in a spot that looks tidy but is out of the way, like a bedroom dresser. You’ll skip it every time and the door area stays a mess.
2) Give keys a hook, not a bowl
Why it works: Hooks make keys impossible to bury. A bowl fills with coins, receipts, and chargers until your keys vanish under the pile.
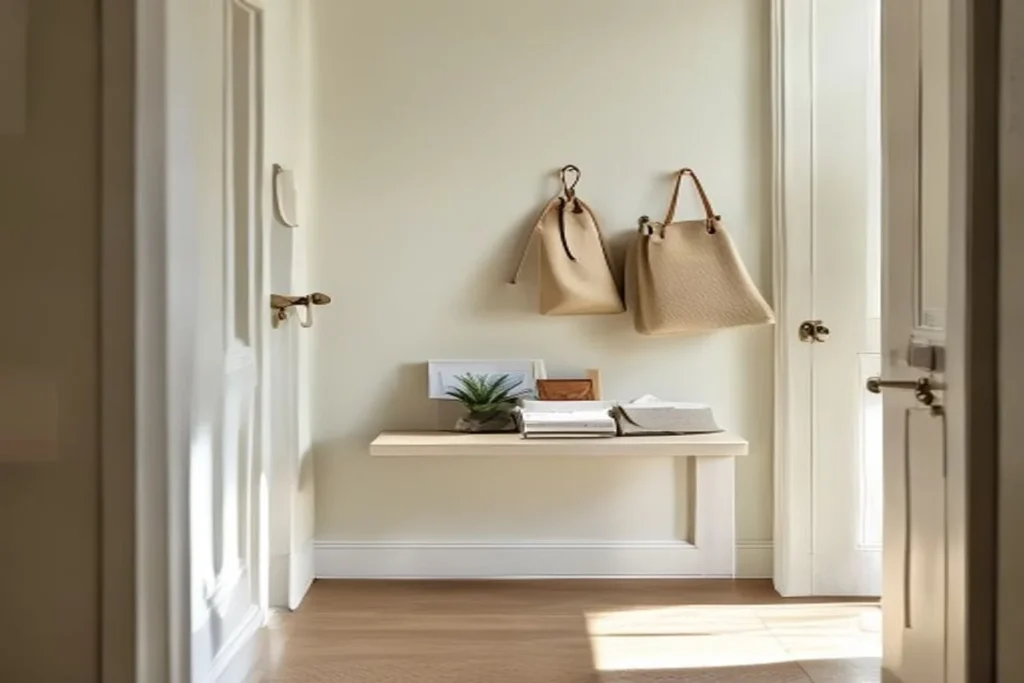
How to do it: Mount two or three adhesive hooks at eye level by the door. One for keys, one for a bag or jacket, one spare. If you rent and can’t drill, peel-and-stick hooks hold light items fine. Hang your keys the second you walk in, every time, until it’s automatic.
Common mistake: Using one big decorative bowl for everything. It looks nice for a week, then it’s a clutter trap.
3) Add a mail tray with one rule
Why it works: Mail piles up because there’s no place for it and no decision about it. A tray plus a simple rule stops the pile from growing.
How to do it: Set a shallow tray or a wall pocket in the zone. The rule: nothing goes in the tray that you haven’t sorted. Junk gets recycled at the door. Bills and things you need to act on go in a separate “to deal with” spot (more on that next). The tray holds only what’s waiting, not everything.
Common mistake: Treating the tray as a dumping ground. If you toss unopened mail in without sorting, you just moved the pile, you didn’t fix it.
4) Set a “to deal with” basket
Why it works: Urgent papers (a bill, a form, a package slip) need to stand out. A small dedicated basket keeps them visible so they don’t get lost.
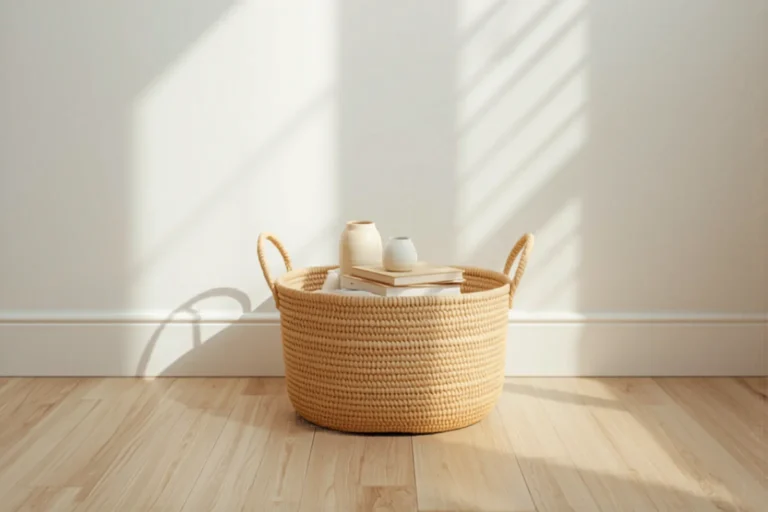
How to do it: Use a small basket or folder, clearly separate from the regular mail tray. The moment something needs action, it goes here. Check it twice a week. When you handle the item, it leaves the basket. The basket should rarely have more than a few things in it.
Common mistake: Making the basket too big. A large bin invites you to ignore it. Keep it small so a full basket nags you to act.
5) Give bags a real landing spot
Why it works: Bags are the biggest offender. A backpack or tote dropped on the floor becomes a tripping hazard and a clutter anchor that everything else gathers around.
How to do it: Add a sturdy hook or a low stool right in the zone. Heavy bag? Use a hook rated for weight, or a small bench you can set it on. The goal is one obvious place the bag goes the moment you’re inside, so it never hits the floor.
Common mistake: Relying on a chair. Chairs are temporary by nature, so the bag stays “for now,” and “for now” turns into a week.
Drop zone questions
How big does a drop zone need to be?
Small. A strip of wall about a foot wide is enough for a few hooks and a tray. The zone works because of where it is, not how big it is.
What if I rent and can’t drill holes?
Use adhesive hooks and a freestanding tray or a slim console. You can build a full drop zone with zero damage and take it all down when you move.
Where should I put a drop zone in a studio?
Right at the entry, even if that’s just inside the door. A narrow shelf or an over-the-door hook rack works when floor space is tight.
How long does it take to set up a drop zone?
About 15 to 20 minutes. Most of that is sticking up hooks and clearing the spot. The pieces are cheap and you probably own a tray and basket already.
How do I get my household to actually use it?
Keep it obvious and easy. Put it right at the door and give every person their own hook. People use systems that take less effort than the messy alternative.
What if my drop zone keeps getting messy?
It usually means the zone is doing too many jobs. Limit it to keys, mail, and bags. Move chargers, sunglasses, and random items elsewhere, and reset it weekly.
Run through this
- Hang two or three hooks at eye level by your front door.
- Put a shallow tray for sorted mail in the same spot.
- Add a small “to deal with” basket for action items only.
- Empty and reset the whole zone once a week.
Avoid these
- Placing the zone too far from the door, so you skip it when you’re tired.
- Using a single bowl for keys, coins, and clutter until nothing is findable.
- Letting the mail tray pile up without sorting, which just hides the problem.
A trick worth knowing
Sort mail standing up, at the door, before you even take your shoes off. Junk goes straight to recycling, action items go to the basket, the rest goes in the tray. Sorting at the moment you receive it is the single habit that keeps paper clutter from ever building.
Keys, mail, bag, one spot
A drop zone is one of the cheapest, fastest wins for a small apartment. One spot by the door, a few hooks, a tray, and a small basket, and the daily flood of keys, mail, and bags finally has somewhere to go. Set yours up today, then commit to using it for a week. Once it’s a habit, your counters stay clear and you stop losing your keys.