How to Hang Things on Rental Walls Without Damage (Real Methods That Work)
In this article
You finally moved in. The walls are blank. Your security deposit is on the line. And the internet’s full of advice that ends with you patching holes the night before move-out.
There’s a real way to hang things on rental walls without damage. Some of it is common knowledge that nobody applies correctly. The rest is stuff hardware stores know but rarely explain on the packaging. Here’s what actually works, what fails, and how to pick the right method for the thing you’re hanging.
Key idea: Damage-free hanging is mostly about matching the weight of your item to the right adhesive system. Get the match wrong and either the item falls or the wall does.
Hang things on rental walls without damage: what actually works
The biggest reason damage-free systems fail isn’t the product. It’s the prep. Adhesive strips need clean, room-temperature, fully-cured paint to grip. Skip any of those three and you’ll be peeling paint off the back of your frame in six months.
Before any method, wipe the wall with rubbing alcohol (not water, not vinegar, not glass cleaner). Let it dry completely. Make sure the paint has been on the wall for at least 30 days. New paint on rental walls is the silent killer of adhesive strips.
The four methods, ranked by what you’re hanging
1) Command strips (for under 16 pounds)
The foam in Command strips stretches when you pull it parallel to the wall, which lets it release without taking the paint with it. To use them right, wipe the wall with alcohol, press the strips onto the back of your item for 30 seconds, remove the item from the wall, then press it back against the wall for another 30 seconds.
After that, wait one hour before you let go of it. That hour isn’t optional: hang it and walk away right after pressing it up, and it falls within a few days, because the adhesive still needs time to bond.
2) Adhesive hooks with hook-and-loop (for jackets, hats, bags)
Adhesive hooks work because the hook carries weight downward, the direction adhesive resists best, so they hold more than people expect. Prep the wall the same way as with strips, apply the hook, and respect the cure time on the package (usually one hour).
Test it first with something light before you trust it with your favorite bag. Check the rating on the back of the package too: decorative hooks are often rated for less weight than what you’re about to hang. And if the wall has any texture at all, buy something rated for double the item’s weight, since texture is what actually breaks the seal, not the weight itself.
3) Velcro picture-hanging strips (for art up to 24 pounds)
Picture-hanging strips spread the weight across more surface than a single hook, and you can level the frame afterward by separating and reattaching the velcro. Use roughly one pair of strips per 4 pounds, spread evenly across the back of the frame, and let the wall side cure for an hour with the frame already in place.
For tall pieces, put strips at both the top and the bottom of the frame. With strips only at the top, the frame slowly pivots forward.
4) Monkey hooks or hardwall hangers (for heavier mirrors, when allowed)
Monkey hooks leave a pinhole instead of a quarter-sized anchor hole, and most leases technically allow small nail holes (check yours to be sure). Push the hook through the drywall at a downward angle and it self-anchors.
To remove it later, pull straight out and patch the tiny hole with a single dot of spackle. They’re built for drywall only: on plaster or wood walls they won’t hold.
Rental wall questions
How often should you check your hung items?
Check adhesive strips monthly for the first three months. If they’re holding by then, they’ll usually hold for a year or more. Heat and humidity (especially in summer) weaken adhesive.
What happens if Command strips pull off paint?
Usually it means the paint wasn’t fully cured or you pulled at an angle instead of straight down, parallel to the wall. The fix at move-out: a small dab of matching paint with a fine brush. Most landlords don’t notice.
Can I use Command strips on textured walls?
Officially no. In practice, on lightly textured walls, they work if you press the entire strip into the texture for 60 seconds (twice the normal time). On heavily textured walls, they fail.
Do these methods work on wallpaper?
Adhesive methods can damage wallpaper on removal. Pin hooks (the tiny single-pin kind) are the safer option on wallpapered rental walls.
What about hanging shelves?
Floating shelves under 5 pounds can use adhesive systems. Anything heavier needs proper drywall anchors and screws, which means real holes. Floating shelves and rentals are a tough match.
Run through this
- Rubbing alcohol on hand
- Wall paint at least 30 days old
- Right product weight rating for each item
- Room temperature between 60 and 85 degrees during install
- One hour of patience for cure time
Pro tip
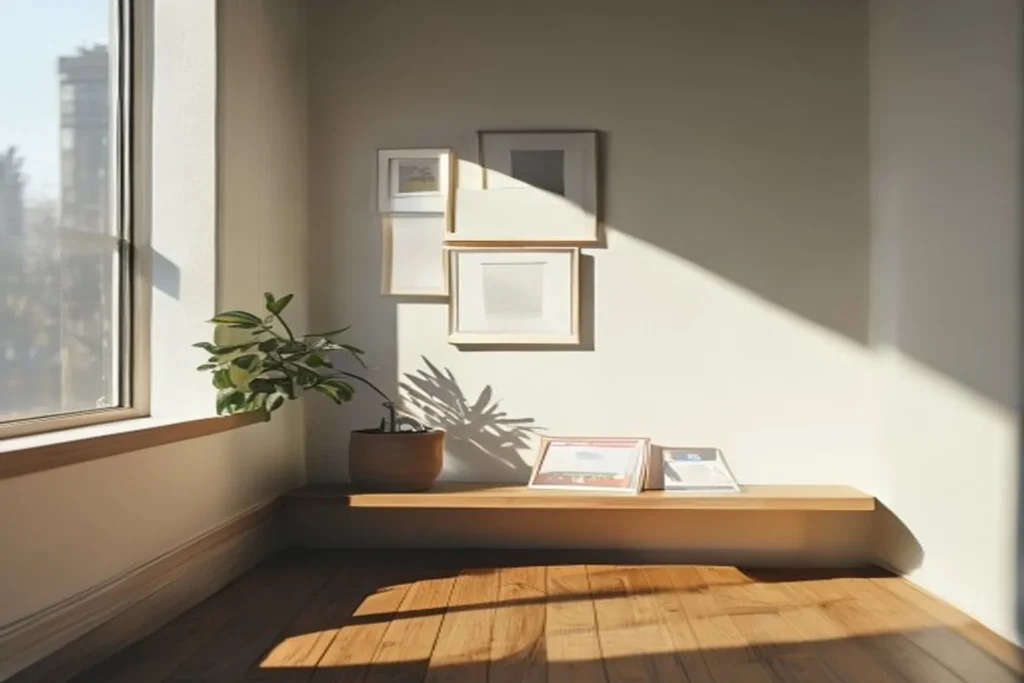
For gallery walls, plan the layout flat on the floor first. Take a phone photo. Then transfer it to the wall one piece at a time. You’ll move items less and stress the adhesive less: measure twice, hang once.
Hang it without losing the deposit
Damage-free hanging is a skill, not a product. The strips and hooks all work when you prep properly and respect the cure time. They all fail when you don’t.
Pick the right method for the weight, do the prep, set a timer for the cure, and your walls (and your security deposit) survive intact.