Under-Bed Storage: The Right Way to Use Dead Space in Small Apartments
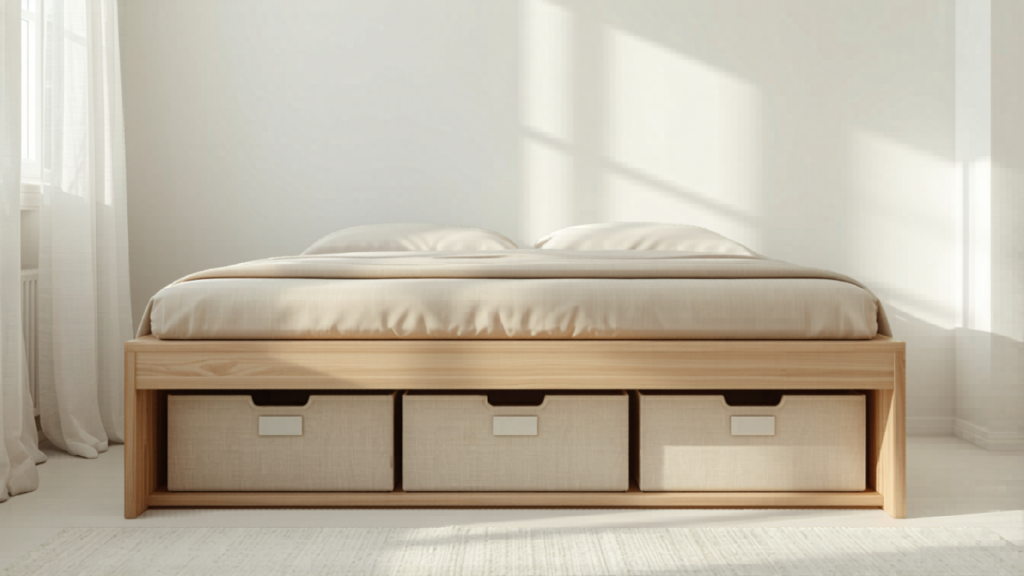
The space under your bed is either completely empty or a chaotic pile of boxes, dust, and things you forgot you owned.
Used correctly, it’s the most efficient storage zone in a small bedroom.
> 💡 **Key idea:** Under-bed storage works best for seasonal, bulky, or low-frequency items, in flat containers you can see and reach. Everything else clogs the zone and makes it useless.
## Quick summary (for busy people)
– ✔️ Only store items you use less than monthly: seasonal clothes, spare bedding, bulky gear
– ✔️ Use flat storage bins with lids, not random boxes and bags
– ✔️ Label every container on the side facing out, not on top
– ✔️ If your bed is low to the floor, bed risers add 3-4 inches of clearance without replacing the frame
## Why under-bed storage fails
Most people use the under-bed zone as a dump: old boxes, random bags, items with no home. The result: a zone that can’t be accessed, fills with dust, and provides no real storage value.
The fix: intentional categories, flat containers, visible labels.
## How to use under-bed storage correctly
### 1) Clear it completely first
– **Why it works:** You can’t assess and organize a zone you can’t see clearly
– **How to do it:** Pull everything out. Sort: keep (belongs here), relocate (belongs somewhere else), donate/trash (shouldn’t exist). Return only intentional items in the right containers
– **Common mistake:** Reorganizing around what’s already there. Pull it all out first, always
### 2) Choose the right containers
– **Why it works:** Flat containers with lids maximize the space, protect from dust, and stack cleanly
– **How to do it:** Measure the clearance under your bed before buying. Most standard under-bed boxes are 5-6 inches tall. If your bed is lower, get vacuum-seal bags for soft items (blankets, seasonal clothes). They compress down to 2 inches
– **Common mistake:** Buying standard-height containers that don’t fit. Measure first
### 3) Assign categories, not random items
– **Why it works:** A zone with clear categories is accessible and stays organized. A zone with mixed items becomes a dig-through pile
– **How to do it:** Decide what categories live under the bed: one bin for extra bedding, one for off-season clothes, one for hobby gear, one for backup supplies. Each bin owns exactly one category
– **Common mistake:** Mixing categories in one bin. When you need the extra blanket, you shouldn’t have to move the snow jacket to get it
### 4) Label sides, not tops
– **Why it works:** You can’t lift the bed to read a label on top. Labels on the sides facing the edge of the bed are readable when you crouch down
– **How to do it:** Use a label maker or masking tape + marker. Write the category on the short side of each bin facing outward
– **Common mistake:** Labeling the top. You’ll open every bin before finding the right one
### 5) Rotate seasonally, not randomly
– **Why it works:** Under-bed storage is for low-frequency access. Items you need monthly or more often belong somewhere more accessible
– **How to do it:** Twice a year (spring and fall), swap the seasonal contents. Winter clothes come in, summer clothes go out. Do this systematically so the zone stays intentional
– **Common mistake:** Adding things throughout the year without removing. The zone fills slowly and becomes a dump again by the next season
## Quick answers
### What’s the best way to use under-bed storage in a small apartment?
Flat containers with lids, assigned by category, labeled on the sides facing outward. Store only seasonal and low-frequency items: bedding, off-season clothes, bulky gear.
### How often should you audit under-bed storage?
Twice a year at seasonal transitions. 20 minutes per audit, maximum.
### What happens if you use under-bed storage for random items?
The zone fills, becomes inaccessible, accumulates dust, and provides no real value. It’s essentially wasted square footage, which is a costly mistake in a small apartment.
## Practical checklist
– [ ] Zone cleared completely, everything sorted
– [ ] Bed clearance measured before buying containers
– [ ] Flat containers with lids selected and purchased
– [ ] Each container assigned to one category only
– [ ] Labels on outward-facing short sides of each bin
– [ ] Seasonal rotation scheduled (spring + fall)
## Common mistakes
1. Not measuring clearance before buying bins. Always measure first
2. Mixed categories in one bin. One category per bin, always
3. Labeling the top. Label the outward-facing side
## Pro tip
Put a small silica gel packet (the kind that comes in shoe boxes or beef jerky) inside each bin under the bed. It absorbs moisture that accumulates close to the floor and protects stored clothes and bedding from mildew.
## Conclusion
Flat bins, intentional categories, outward labels. That’s it. Under-bed storage done right gives you the equivalent of a full extra drawer, in space you were already not using.
Keep reading
- Small Bedroom Setup: 6 Layout Moves That Create Space
- How to Organize a Small Closet With No Extra Furniture
- One-Bag Storage System: How to Cut Clutter in Half
## FAQ
### What bed height works best for under-bed storage?
At least 7 inches of clearance gives you access to standard flat bins. If your bed is lower, use vacuum compression bags for soft items or invest in bed risers to add 3-5 inches.
### Can I store shoes under the bed?
Yes, in individual clear shoe boxes that stack flat. Avoid storing shoes loose: they get dusty, displaced, and the zone becomes disorganized fast.
### How do I keep dust from getting into the bins?
Bins with tight-fitting lids are the best defense. If your bins have loose lids, line the inside with a fabric drawstring bag before filling. Silica gel packets inside each bin also help with moisture.