Studio Apartment Zoning: How to Make One Room Feel Like Three Without Walls
In this article
A studio apartment isn’t a small apartment, it’s a puzzle. One open room has to be your bedroom, living room, dining room, and office all at once. Without zones, everything feels like “bed-adjacent” and nothing has an identity. Sleep bleeds into work, work bleeds into eating, eating bleeds into TV.
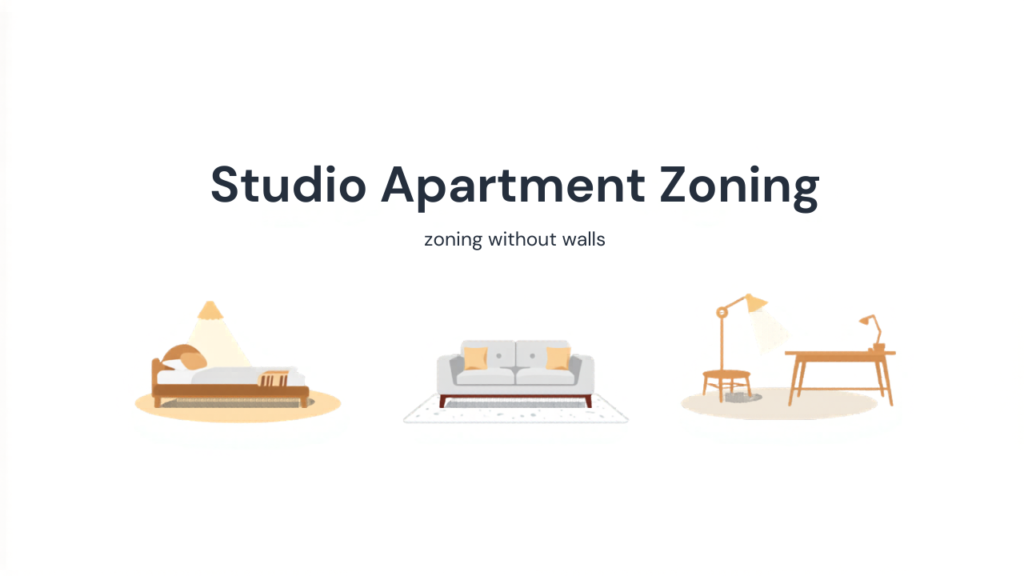
Zoning fixes this without any construction or expensive furniture. You create the feeling of separate rooms with three visual cues: rugs, lighting, and layout. Done right, a 400-square-foot studio starts to feel like a proper apartment with a sense of “moving between spaces”.
💡 Key idea: A room without zones is a warehouse. Your brain can’t relax or focus if every function happens in the same visual space. Zoning adds the mental breaks that walls used to provide.
The short version
- ✔️ Three simple zoning tools: rugs, lighting, layout
- ✔️ Creates the feel of 3 rooms in one studio
- ✔️ No construction, no landlord approval needed
- ✔️ Works in any layout from 250 to 600 sq ft
Why studios feel chaotic without zones
Your brain uses context to switch states. Entering the bedroom cues sleep mode. Sitting at the kitchen table cues eating mode. Settling into the couch cues relax mode. When all those activities happen in the same visual space, the switches don’t happen. You’re always in “home mode” with no subdivisions.
Zoning creates artificial context shifts. When you step onto the rug under the couch, your brain reads “living room”. When you sit at the desk, “office”. Same square footage, but three different mental rooms.
How to zone a studio apartment
1) Define the three essential zones
- Why it works: Trying to create four or five zones in a studio dilutes each. Three is the maximum that retains distinctness. Sleeping, living, working. The rest fits within these.
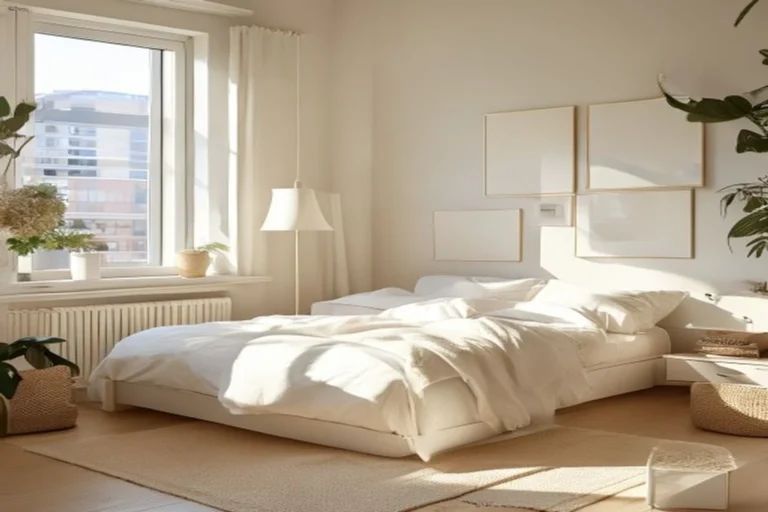
- How to do it: Map the space on paper. Assign one corner to sleeping, one to sitting and eating, one to working. Even in the smallest studio, three corners can be identified. Eating happens on a small table in the “living” zone, not a separate one.
- Common mistake: Trying to carve out a separate “dining zone”. In small studios, the dining table is part of the living zone, because it sees more “work laptop” time than dining time.
2) Use rugs to define each zone visually
- Why it works: A rug is the cheapest and most effective way to signal a zone. The eye reads rug edges as room edges.
- How to do it: Each zone gets its own rug. Bedroom rug under the bed (bed feet on the rug). Living rug under the couch and coffee table (all legs on the rug). Work rug under the desk and chair (chair can roll entirely on it). Even small rugs work.
- Common mistake: One giant rug under everything. That merges zones instead of separating them.
3) Use lighting to signal mode changes
- Why it works: Different lights at different heights and temperatures make zones feel independent even when they’re only 6 feet apart.
- How to do it: Bedroom has a warm, low lamp (bedside, dim). Living has mid-level ambient (floor lamp, softer). Work has bright task light (desk lamp, cooler). When working, only the work light is on. When winding down, only the bedroom one.
- Common mistake: Relying on the single ceiling light. Ceiling lights kill zoning because they light everything equally. Use them only for cleaning, turn them off otherwise.
4) Position furniture as room dividers
- Why it works: Even without real walls, furniture backs create visual barriers. A couch back facing the bed becomes a “wall” between living and sleeping.
- How to do it: The couch doesn’t have to face the window. Let its back face the bed or the work zone. A bookshelf at right angle to the wall subdivides the open space. A curtain mounted on a ceiling track for the sleeping zone can be pulled for total privacy.
- Common mistake: Pushing all furniture against walls. That makes the open middle space feel bigger but formless. Furniture pulled into the room creates better zone boundaries.
5) Add a small visual anchor to each zone
- Why it works: Each zone needs one distinctive visual element (art, plant, pendant light) so the brain can recognize “I’m in zone X” at a glance.
- How to do it: Bedroom gets a single piece of art over the bed. Living zone gets a cluster of plants or a statement lamp. Work zone gets a cork board or single strong print. These anchors act as “zone signage” for your brain.
- Common mistake: Overdecorating each zone. One anchor per zone is the rule. More blurs them.
Studio zoning questions
How do you make a studio apartment feel like separate rooms?
Use rugs to visually divide spaces, different lighting for each zone, and position furniture to create implied walls. Three zones (bed, living, work) is the ideal number for most studios.
Can I zone a studio without buying anything?
Partially. Rearranging existing furniture and adjusting lighting patterns (turning off ceiling, using existing lamps purposefully) gets you 60% of the way there. A single rug added later does most of the remaining 40%.
What about tiny studios under 300 sq ft?
Two zones instead of three. Sleeping, and everything else. A single rug for the “everything else” area, a single lamp strategy, and a curtain or screen for the bed corner. Same principles, fewer zones.
Does zoning work if I have low ceilings?
Yes. Low ceilings actually benefit more from lamp-based lighting (which zoning requires) because bright ceiling lights make low ceilings feel lower. The zoning approach improves both sense of space and ceiling height perception.
What if my studio is an awkward shape?
Map your three zones to where they make sense based on shape. L-shaped studios often have a natural bedroom corner and living space, you just need to add the work zone. Don’t fight the shape, work with it.
How do I zone a shared studio (two people)?
Two people in a studio need extra privacy zoning. Consider a folding screen or a fabric curtain along the bed zone. Each person should have at least one zone that feels “theirs” (a desk, a reading corner, a specific side of the couch).
Run through this
- Three zones mapped: sleep, live, work
- One rug per zone, separate from each other
- Dedicated light source per zone, different temperatures
- Furniture positioned to create implied walls
- One visual anchor per zone, not more
The usual missteps
- Treating the studio as one big room and furnishing it that way. The whole point of zoning is that it stops being one big room.
- Using the ceiling light for everything. That erases zoning the moment it turns on.
- Trying to zone too many functions. Dining, hobby, exercise, reading, guest areas. Most of these fit into your three zones with simple repurposing.
Pro tip
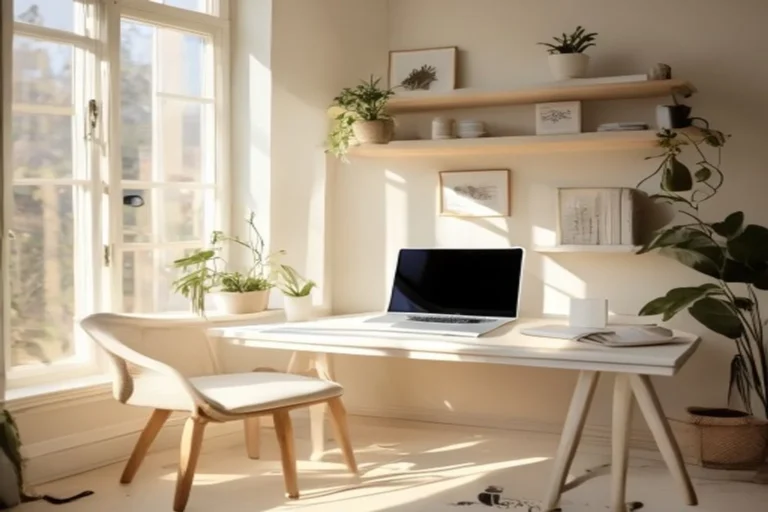
If you work from home in your studio, zone your work space to be as visually distinct from your sleep space as possible. The physical separation trains your brain to switch off work at the end of the day. People who work and sleep in the same visual zone have worse sleep and worse focus, not because of the space itself but because the brain can’t context-switch.
Zones without walls
A studio isn’t a compromise, it’s a design challenge. With three zones, three rugs, three lights, and a little rearranging, a small open apartment can feel like a functional multi-room space.
You don’t need walls to feel at home. You need context. Zoning gives you that for almost free, and the psychological effect is huge.